
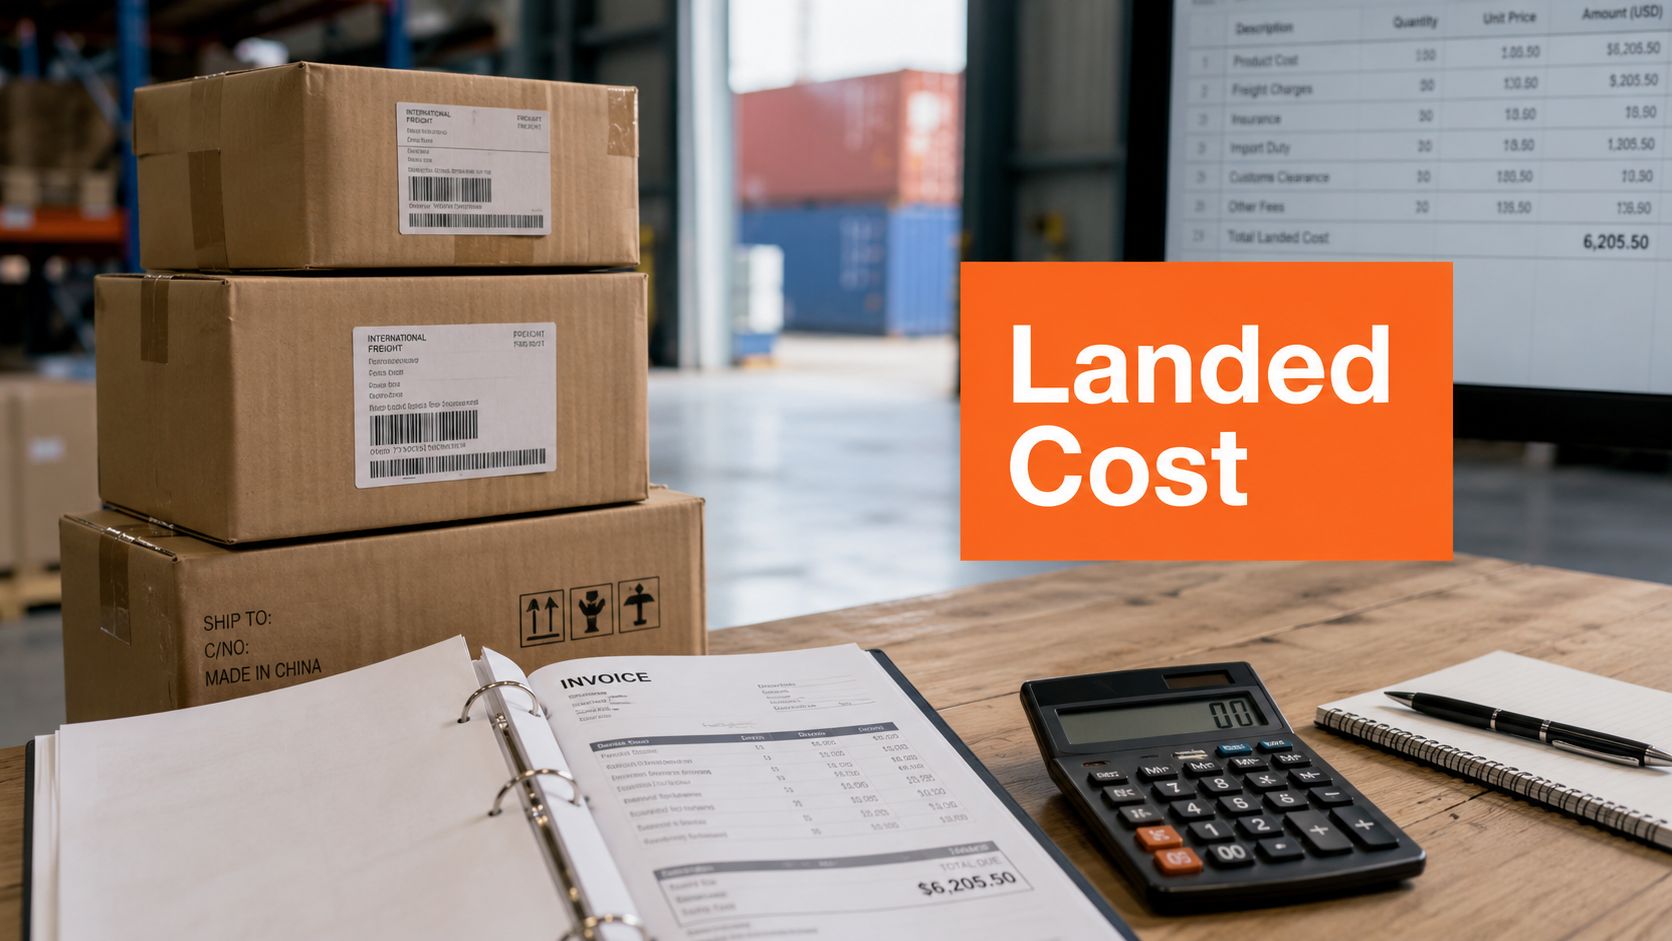
You place your first import order, get a clean supplier quote, and feel good about the margin. Then the shipment moves. Freight hits. Duties show up. Insurance slips in. A broker fee lands in your inbox. By the time the inventory reaches your warehouse, the number you used for pricing no longer means much.
I see founders get tripped up here all the time. They think they bought a product for one price, but they bought a chain of costs. Landed cost computation is how you count that chain before it eats your margin.
Understanding Landed Cost Computation
A supplier price is like the sticker price on a used car. It tells you something real, but it doesn't tell you what you'll pay once taxes, registration, insurance, and repairs enter the picture. Imported inventory works the same way.
If you buy a unit for $10, that number is only the opening line. One example makes this plain: add $2 shipping, $1.50 duties, $0.50 insurance, and $1 overhead, and the total landed cost is $15 per unit according to DCL's landed cost example. That gap is where many early pricing mistakes begin.
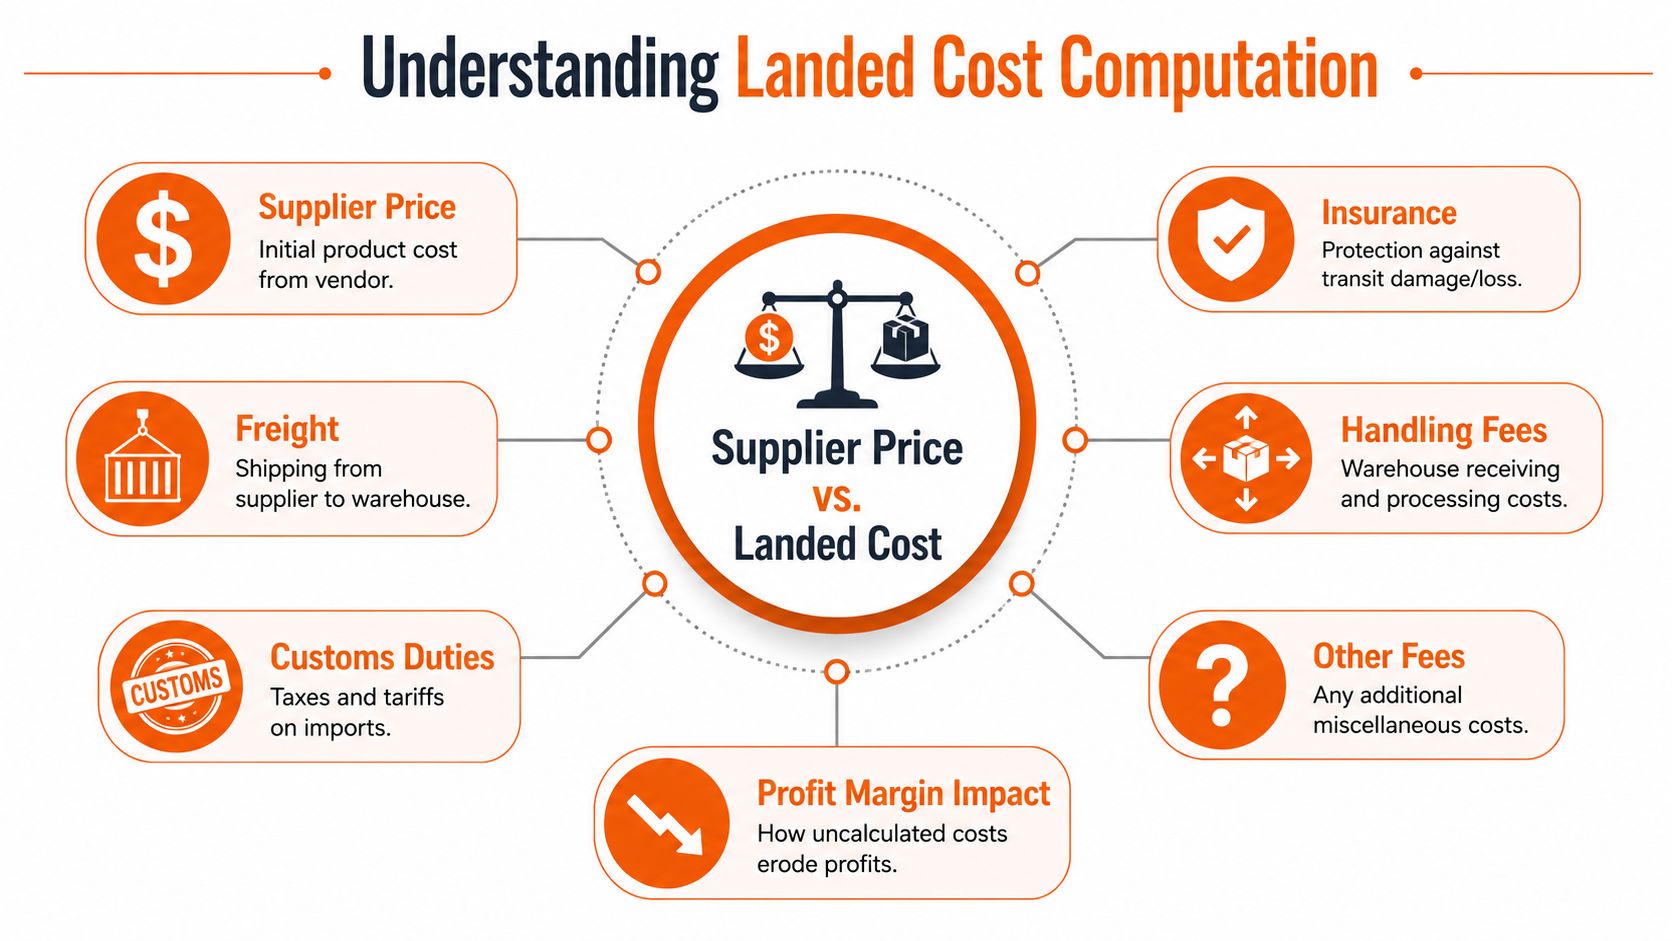
The formula itself is straightforward. Total Landed Cost (TLC) = Product Cost + Shipping/Freight + Duties/Taxes + Insurance + Overhead, as laid out in Finale Inventory's landed cost guide. That same guide notes that duties often apply as a percentage of declared value, VAT applies to value plus duties, and insurance typically runs 1–3% of declared value.
What founders usually miss
Most confusion starts with the word cost. You and I may think "cost" means what the factory charged. Your accounting and pricing model can't stop there.
A better mental model is this:
- Product cost is what you paid to make or buy the unit.
- Freight is what it took to move it.
- Customs is what it took to cross the border.
- Insurance is what it took to protect the shipment.
- Overhead is what it took to receive, process, and clear it.
If you want a useful companion read on how those numbers flow into inventory valuation, Nexist's inventory management insights are worth your time.
Practical rule: If a cost shows up because you decided to import that inventory, it probably belongs in your landed cost model.
Identifying Data Inputs and Components
Before you touch a spreadsheet, gather the raw inputs. Bad landed cost computation usually starts with missing paperwork, not bad math.
Start with the five-phase input map
I like to collect data in the same order I calculate it. That keeps the model clean and cuts down on missing line items. A structured approach comes from Klavena's five-phase framework: (1) Product Cost Foundation, (2) Transportation Cost Allocation, (3) Government Fees, (4) Additional Service Costs, and (5) Total Cost Compilation. Klavena also warns that consistent allocation methods matter because mixed-SKU inventory valuation can distort by 15–30% when allocation is inconsistent.
Here's the data I'd pull for each phase:
Product cost foundation
Use the supplier invoice, payment terms, and any volume pricing notes. If you're still working backward from your manufacturing assumptions, this guide on how to calculate production costs helps you clean up the base number before you import anything.Transportation cost allocation
Pull freight invoices, forwarding charges, fuel surcharges, and any carrier add-ons. Check the Incoterms on your purchase order so you know what the supplier covered and what you covered.Government fees
Gather the HS code, customs value, duty rate, and tax treatment for the destination country. If the HS code is fuzzy, stop and resolve that first.Additional service costs
Add insurance, customs brokerage, warehousing, currency conversion, and payment processing if they apply to the shipment.Total cost compilation
Decide how you'll spread shared costs across units and SKUs.
Pick one allocation basis on purpose
Mixed shipments introduce complications. A box of ceramic mugs and a carton of silk scarves don't consume freight or duty in the same way.
You usually allocate by one of these bases:
- Weight for freight-heavy shipments where heavier items should carry more transport cost.
- Value when duties or taxes tie closely to declared product value.
- Quantity when units are similar and a simple per-unit split is fair.
- Volume when bulky items take up more container space than dense items.
Use one allocation rule for each cost type and document why you chose it.
Build a pre-calculation checklist
A short checklist keeps you honest:
| Input | Where I look |
|---|---|
| Product unit cost | Supplier invoice |
| Freight and surcharges | Carrier or forwarder invoice |
| Duty rate | HS code classification documents |
| Taxes | Import documents and destination tax rules |
| Insurance | Policy or shipment-specific quote |
| Brokerage and handling | Broker invoice and warehouse receipts |
| Allocation basis | Internal costing policy |
If a number doesn't have a document behind it, flag it before you price the product.
Building the Computation Formula
Once your inputs are clean, the formula itself is not hard. The hard part is deciding what belongs in each cell and how to spread shared costs fairly.
Start with the visual map below. It mirrors the order I use in a spreadsheet.
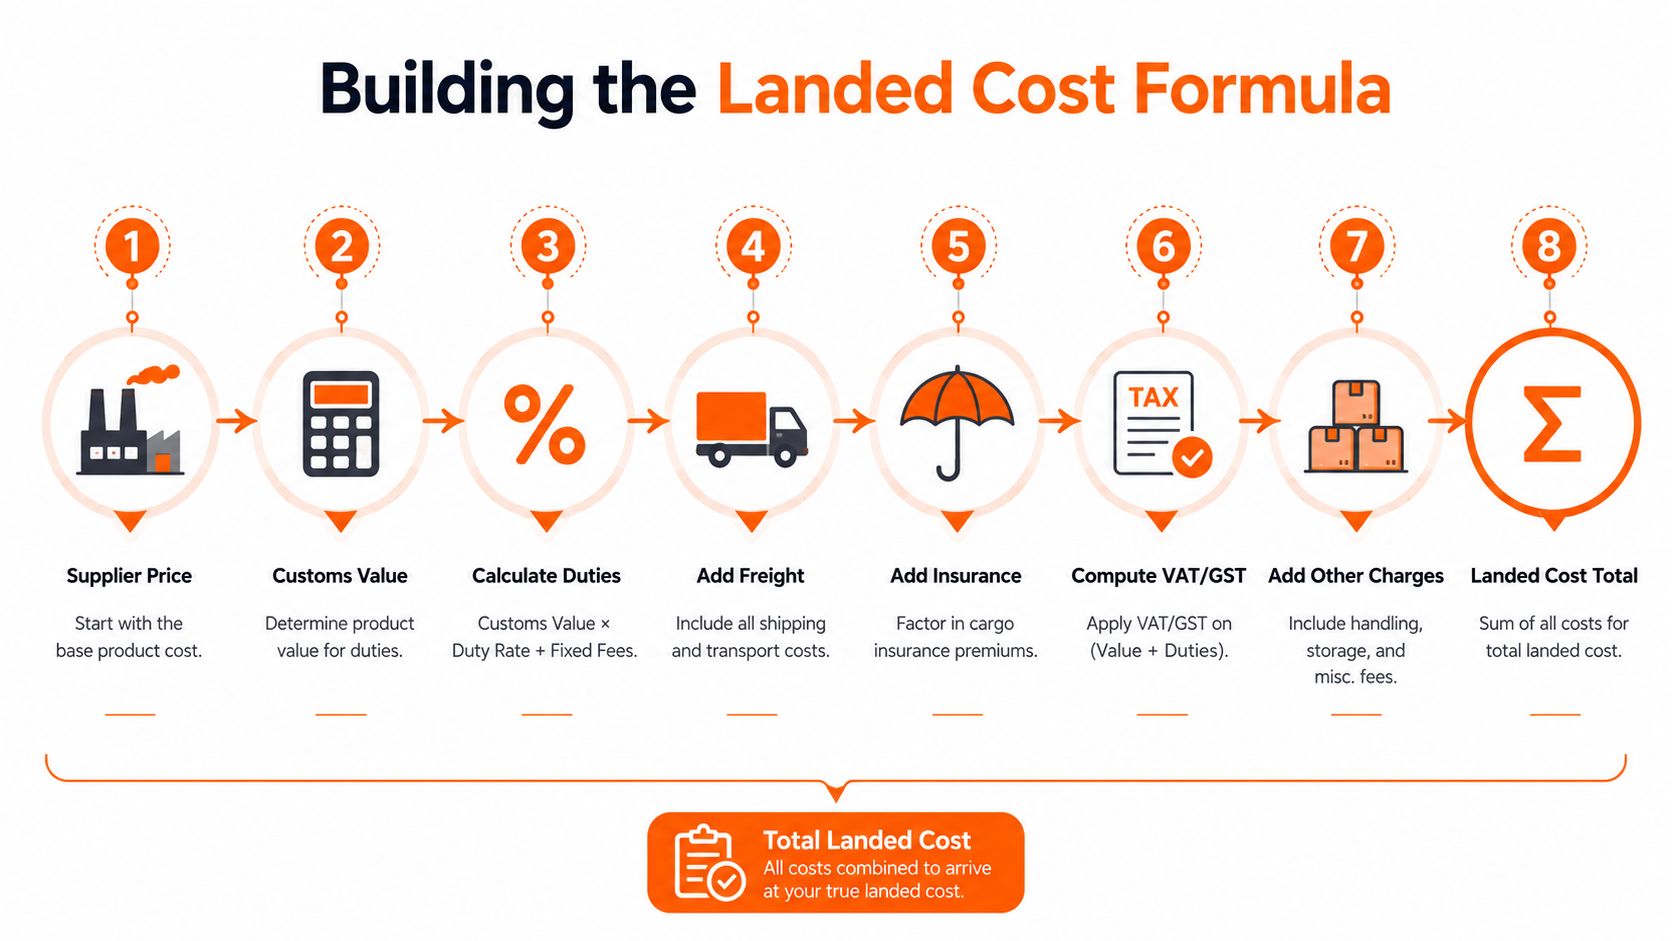
The formula block I use
At a shipment level, I write it like this:
Total Landed Cost = Product Cost + Freight + Duties + Taxes + Insurance + Overhead
At a unit level, I write it like this:
Per-Unit Landed Cost = Total Shipment Landed Cost ÷ Allocated Units
That sounds simple because it is. But each term needs its own mini-formula.
Duty, tax, and insurance logic
Customs duty usually begins with customs value and the duty rate attached to the product's HS code. ExFreight's worked example gives a clean version: if the Customs Value is $10,000 and the duty rate is 5%, duty is $500, plus fixed fees like the Merchandise Processing Fee and Harbor Maintenance Fee.
Taxes can layer on top of that. Finale Inventory's example shows a 12% duty on a $10 product creating $1.20, then a 20% VAT on ($10 + $1.20) creating $2.24. The same guide notes that insurance often falls in the 1–3% range, and at a 2% rate on a $10 unit, insurance adds $0.20.
Here's the logic in plain English:
- Calculate customs duty from customs value and duty rate.
- Add any fixed customs fees.
- Calculate VAT or GST on the taxable base if the destination country applies it that way.
- Add insurance.
- Add overhead items like broker fees and receiving charges.
Cost allocation is where spreadsheets go wrong
A spreadsheet can be perfectly built and still produce bad answers if the allocation basis is wrong. Ecosire's explanation of freight and duty allocation puts this clearly: if freight is $2,800 or customs duty is $800, you must choose a rule like weight, value, or quantity so the system can distribute cost correctly. If you allocate freight by weight, heavier items absorb more. If you allocate duty by value, higher-priced items absorb more.
That matters a lot in mixed cartons.
A lightweight premium SKU and a heavy low-price SKU should not absorb shared costs the same way unless the cost driver is actually the same.
If you're stress-testing retail pricing after landed cost rolls in, I also like using a break-even lens. This guide on the formula for break-even price fits well right after you finish your landed cost sheet.
For founders importing into Australia, Australian landed cost formulas from AUSFF can help you compare how local calculators structure tax and import charges.
A short walkthrough can help before you build your own model:
Using Examples and Spreadsheet Templates
Examples make this click. I like to build two tabs in one sheet: a single-SKU tab and a multi-SKU tab.
A single-SKU template
The single-SKU version is the training wheels model. Put one shipment on one row group and calculate the total first.
Use these columns:
- SKU
- Units
- Product Cost
- Freight
- Duty
- Tax
- Insurance
- Overhead
- Total Landed Cost
- Per-Unit Landed Cost
For a simple example, you can use the earlier unit math from the first section. One unit bought for $10 becomes $15 after adding shipping, duties, insurance, and overhead from the DCL example already discussed. In a sheet, you'd expand that to the full quantity and then divide by units.
A multi-SKU template
Here, most articles lack depth. Yours shouldn't.
For a mixed shipment, I use one top table for shipment-level shared costs and one lower table for SKU-level allocation.
Top table fields
| Shared shipment cost | Allocation basis |
|---|---|
| Freight | Weight |
| Duty | Value |
| Insurance | Value |
| Broker and handling | Quantity or value |
Lower table fields
| SKU | Units | Weight share | Value share | Freight allocated | Duty allocated | Final per-unit landed cost |
|---|
That split keeps your thinking clean. Freight often follows physical burden. Duties often follow declared value. Handling can go either way, depending on your operation.
How I adapt the template
Don't try to make one formula do everything. Create separate input cells for each shared cost type and allocate each one by the basis that fits that cost.
For example:
- If freight is weight-driven, allocate freight by each SKU's share of shipment weight.
- If duty is value-driven, allocate duty by each SKU's share of declared value.
- If receiving labor scales with unit count, allocate handling by quantity.
That sounds obvious when written out. In practice, many founders flatten all of it into a single per-unit split, and that hides the true economics of the catalog.
Your template should be auditable. Another person should be able to trace every landed cost line back to an invoice, customs form, or allocation rule.
If you want to see how another category handles imported-cost math in a consumer-friendly way, DreamBid kalkulator importu pojazdów is a useful example. It focuses on vehicle imports, but the broader lesson is the same: buyers need a full-cost picture, not a teaser price.
Avoiding Pitfalls and Ensuring Compliance
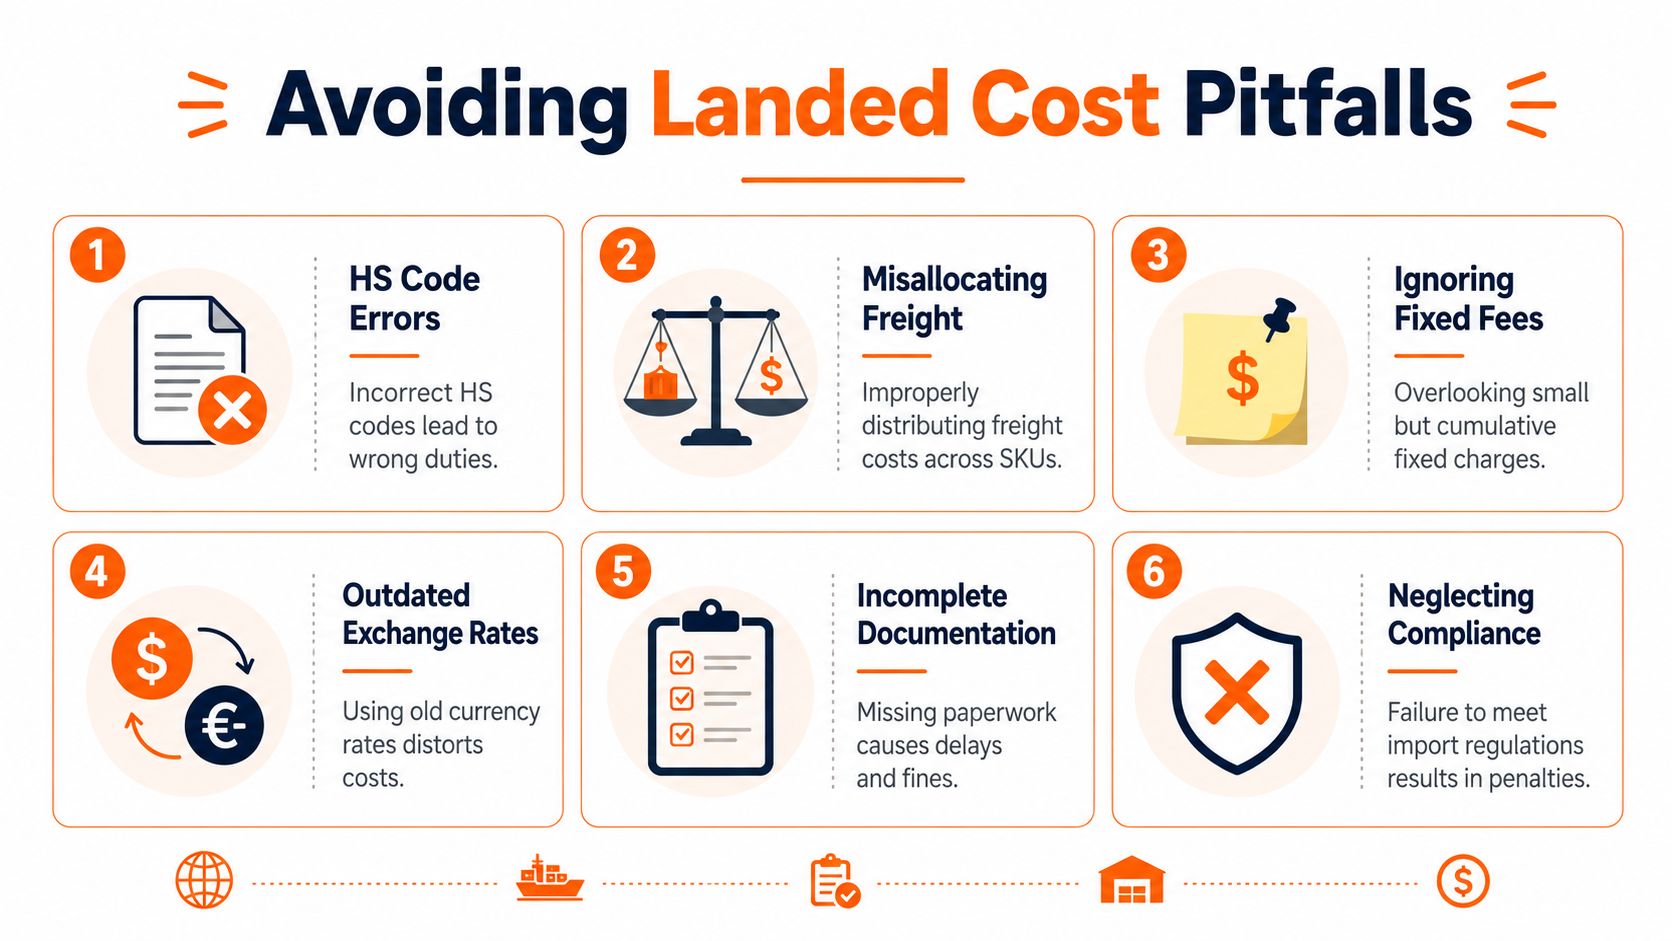
A lot of founders assume the formula is the risky part. It usually isn't. The risky part is classification, allocation, and stale data.
The common mistake people don't spot
Many guides explain landed cost as if you have one SKU in one shipment. Real businesses don't stay that simple for long. Cleverence points out that dynamic allocation of multi-SKU shipment costs is often skipped, even though freight, duties, and handling need different treatment when pack sizes or values vary.
That omission creates pricing errors. A dense product may deserve more freight burden. A premium product may deserve more duty burden. If you flatten both into one equal split, one SKU looks healthier than it is and another looks worse than it is.
The compliance trap that bites hard
Classification errors create more damage than many founders expect. Klavena notes that 42% of US import audits cite incorrect HS classification as the primary cause of duty overpayments or underpayments, with average penalties of $8,500 per shipment. That same source says allocation inconsistency can distort mixed-SKU inventory valuation by 15–30%.
Here's the fix list I use:
- Verify HS codes early by checking product specs before the purchase order locks.
- Document allocation rules so finance and operations use the same method every time.
- Track fixed customs fees in a separate line, because they don't scale like ad valorem duties.
- Keep paperwork together so invoices, freight bills, broker charges, and customs forms match the landed cost record.
Clean documentation beats a heroic last-minute reconstruction every time.
A practical compliance checklist
Use this before a shipment closes:
- Match the SKU to the HS code and save the backup.
- Confirm customs value inputs against the commercial invoice.
- Separate variable charges from fixed fees so your model doesn't blur them.
- Check the allocation basis for each shared cost type.
- Store the final landed cost sheet with invoices and import records.
If a broker and your spreadsheet disagree, pause and find out why. Don't force the numbers to match by intuition.
Automating Landed Cost Computation
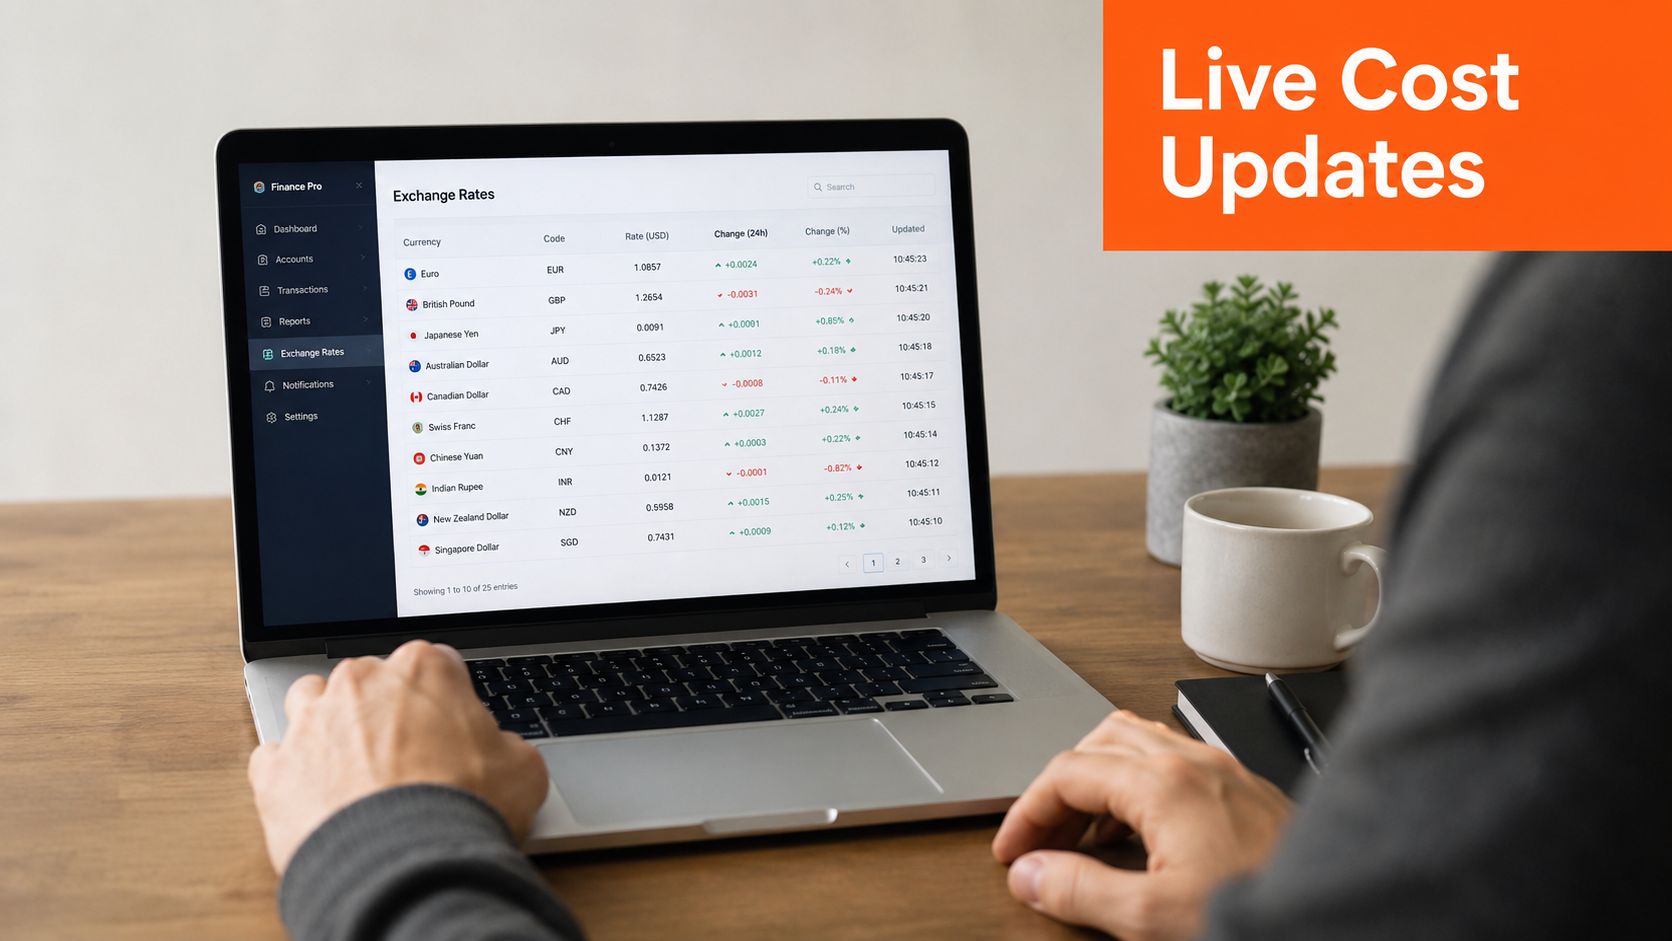
Manual landed cost sheets are fine when you're testing one product. They start to fail when currency moves, insurance rates change, or carriers update surcharges while you're still using last week's assumptions.
Why I push founders toward automation early
Fishbowl's landed cost discussion makes one point I agree with strongly: risk, including compliance costs and currency exchange rates, can change daily, but many static formulas treat them like fixed line items.
That is a problem. If you're sourcing in one currency and selling in another, an old exchange rate can subtly change your economics before inventory even lands.
A simple workflow that works
You don't need a giant ERP on day one, but you do need a repeatable flow:
- Pull supplier cost data from your purchase order or accounting tool.
- Refresh exchange rates on a schedule that matches your payment exposure.
- Update duty tables when product classifications or sourcing countries change.
- Bring in freight invoices and surcharges as they arrive.
- Recalculate SKU-level landed cost before you finalize retail pricing.
For teams moving beyond ad hoc spreadsheets, an e-commerce ERP setup can help centralize those inputs so your cost model isn't scattered across inboxes and tabs.
What to automate first
If you can only automate a few pieces, start here:
- Currency updates because they can change between PO date and payment date.
- Shared-cost allocation logic because repeated manual splitting invites errors.
- Document storage because audits and reconciliations get ugly fast without it.
I'd still keep a manual review step. Automation should speed up judgment, not replace it.
Wrapping Up and Next Steps
Landed cost computation gets easier once you stop treating it like one formula and start treating it like a chain of decisions. You gather clean inputs. You classify products correctly. You assign each shared cost using the basis that matches the actual cost driver. Then you keep the model current as currency, duties, and fees move.
If I were tightening this process in a young ecommerce brand, I'd do three things next. First, I'd rerun one past shipment and compare supplier price versus true landed cost. Second, I'd build a simple two-tab spreadsheet for single-SKU and multi-SKU imports. Third, I'd choose one automation win, usually currency refresh or shared-cost allocation.
You don't need a perfect system on day one. You need a system you trust enough to price with confidence.
If you're building a product brand in the Midwest and want honest conversations with founders who wrestle with problems like pricing, sourcing, and inventory, Chicago Brandstarters is worth a look. It's a free, vetted community for kind, bold builders who want real operator feedback, small private dinners, and a group chat where people share what's working.
Leave a Reply