Tag: ecommerce logistics
-
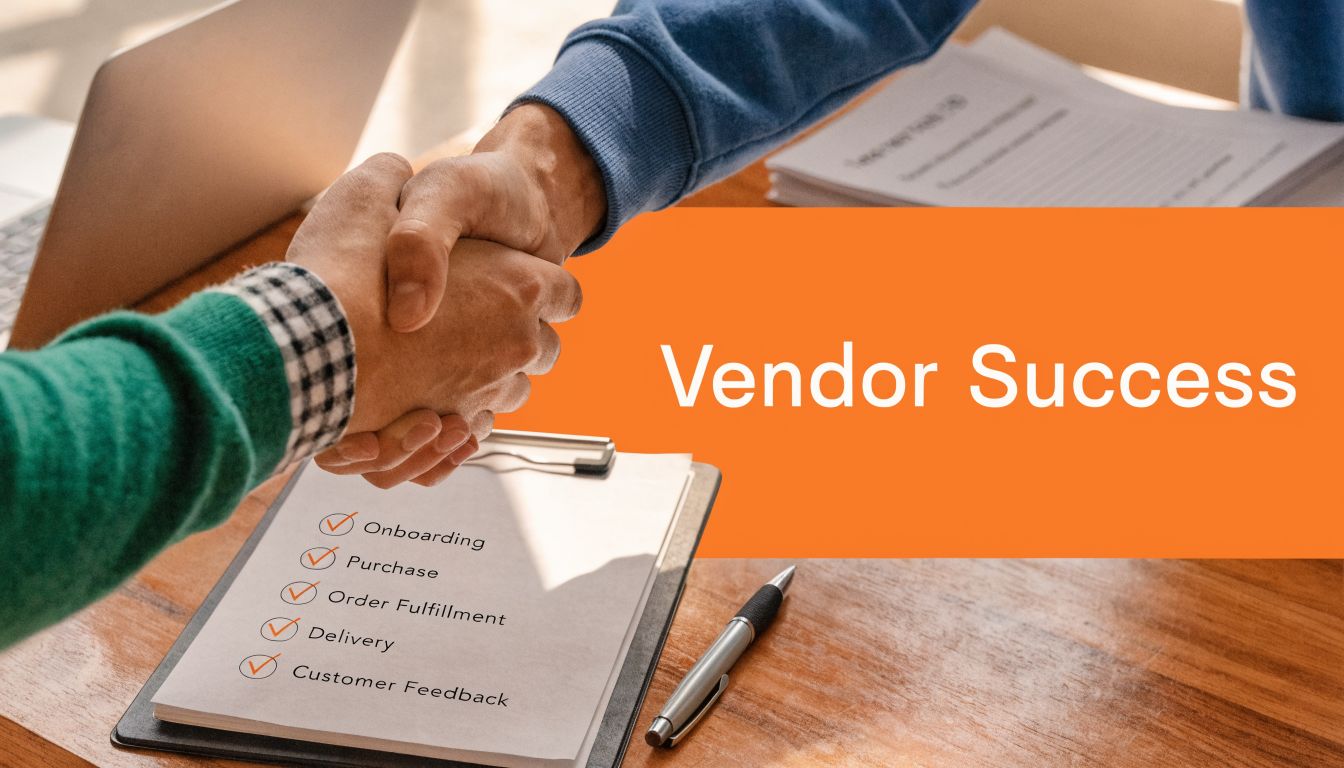
Top Vendor Relationship Management Best Practices for 2026
Your biggest vendor problem usually starts like this. You’re three days from a launch, a supplier misses the date, your inbox fills up, and suddenly the person who sounded dependable on the sales call is nowhere to be found. Now you’re burning cash, apologizing to customers, and trying to fix a mess you do not…
Written by
-
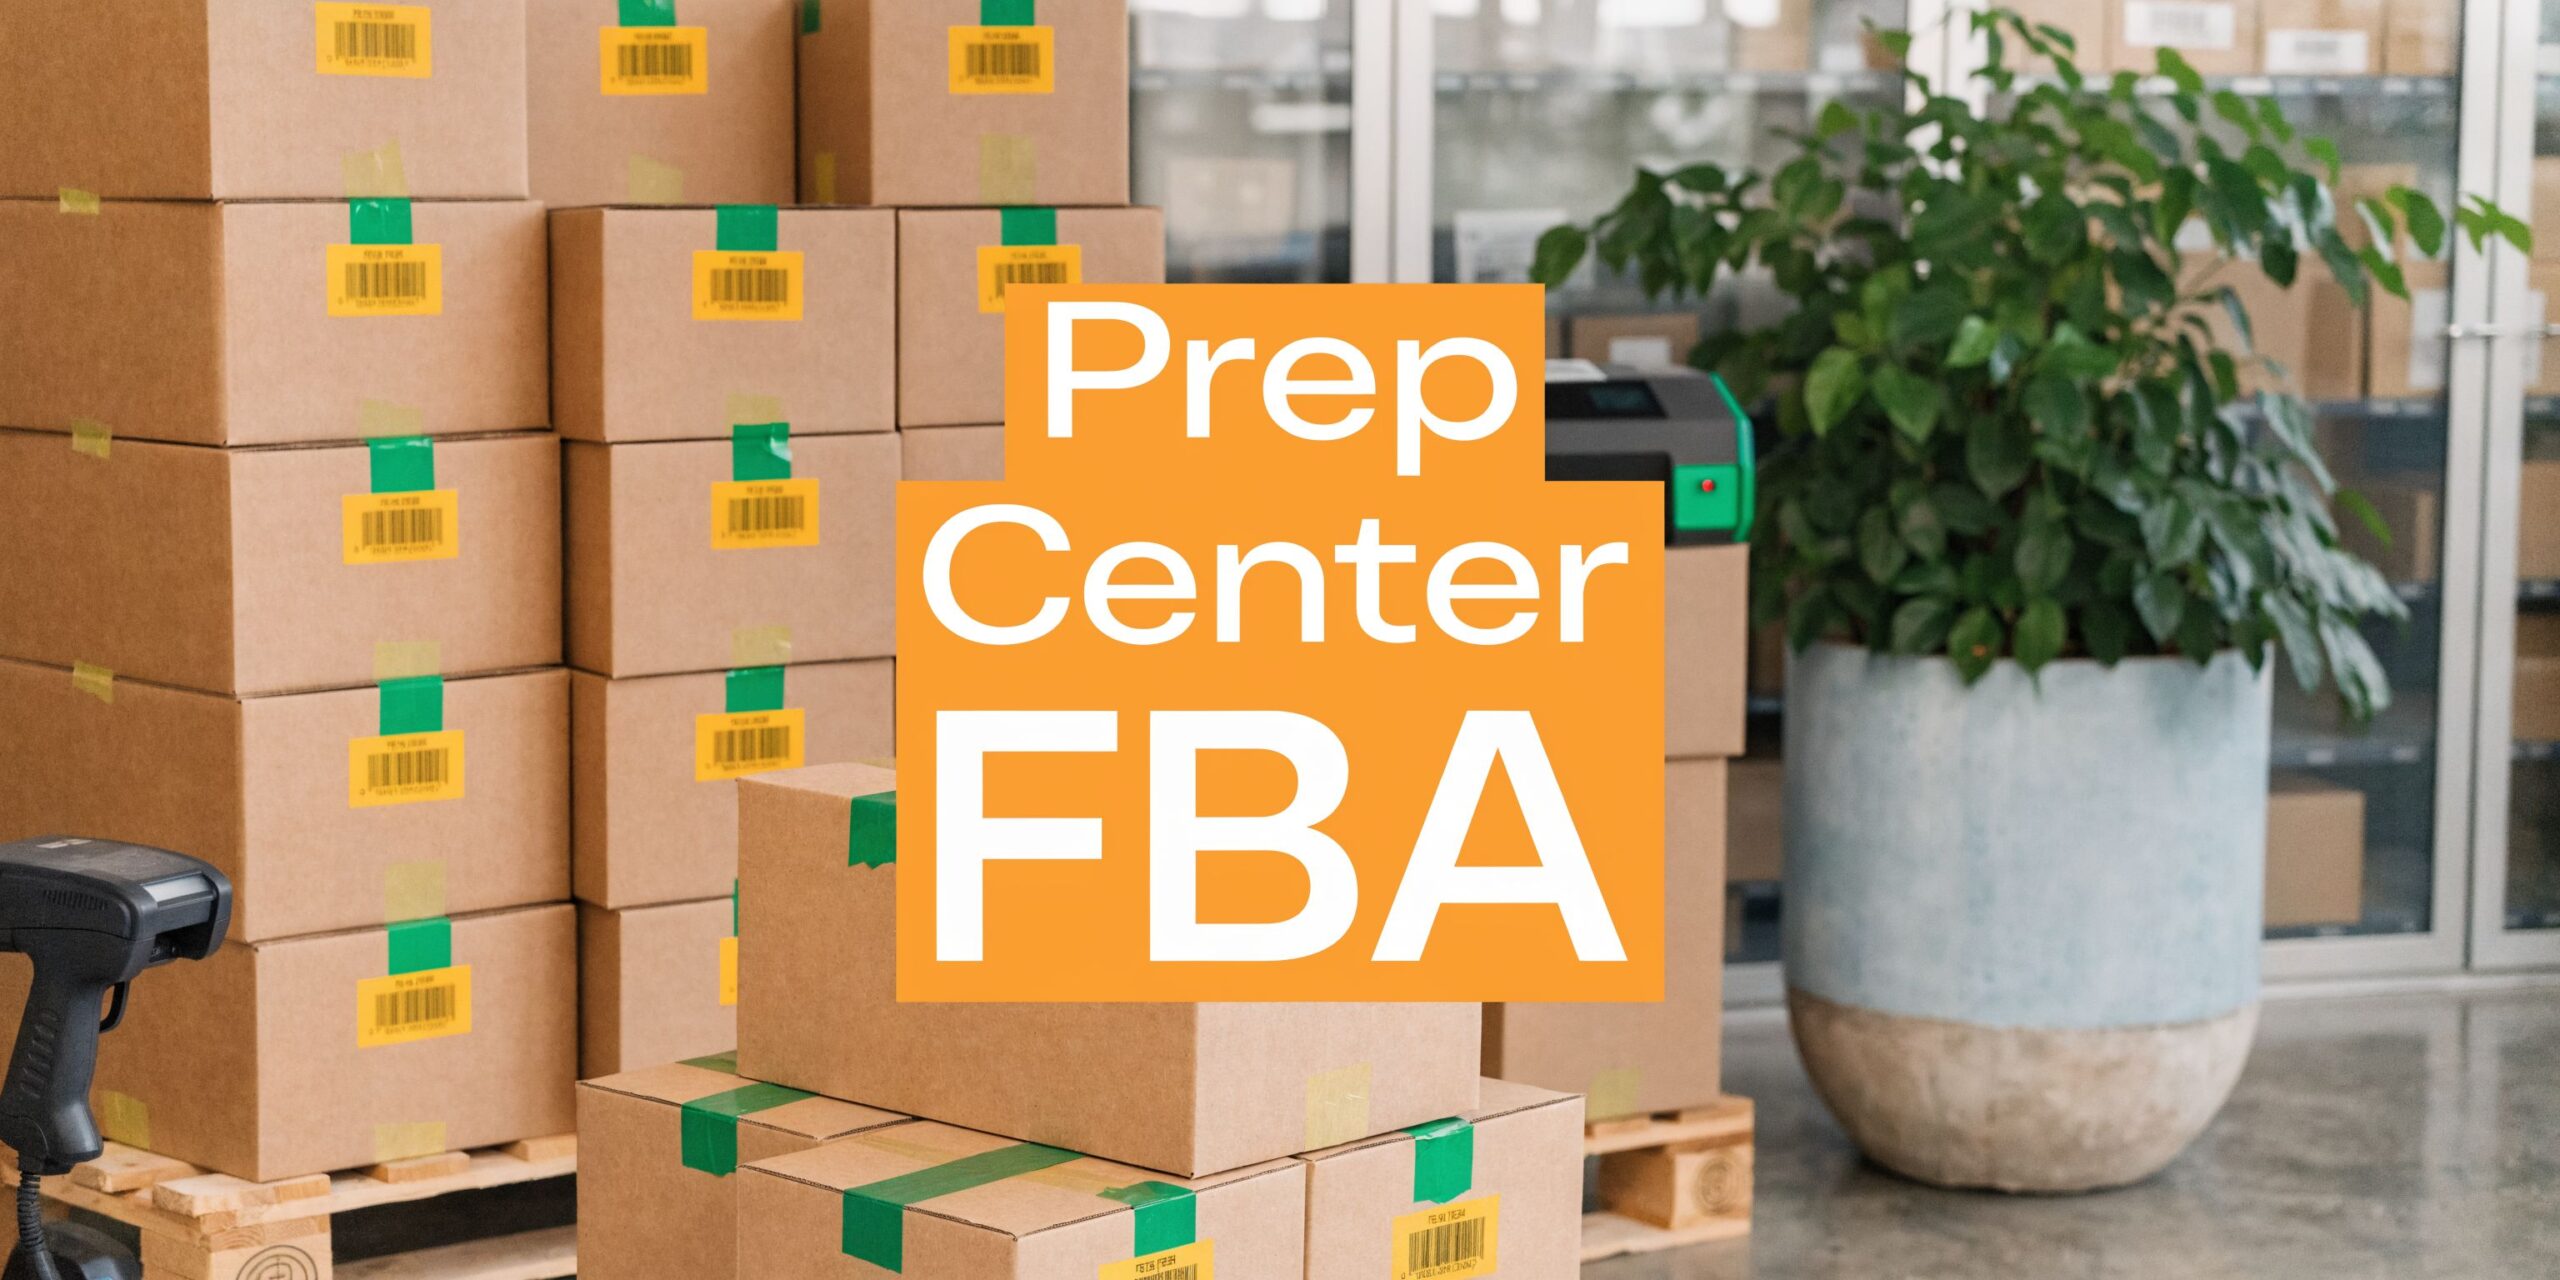
Prep Center FBA: Your Guide to Scaling on Amazon
Your business probably didn’t start in a warehouse. It started on a laptop, a folding table, or a corner of your apartment. Then sales came in. Good problem. Then the boxes came. Less good. At first, packing your own inventory feels scrappy and noble. After a while, it becomes a trap. You’re not building a…
Written by
-
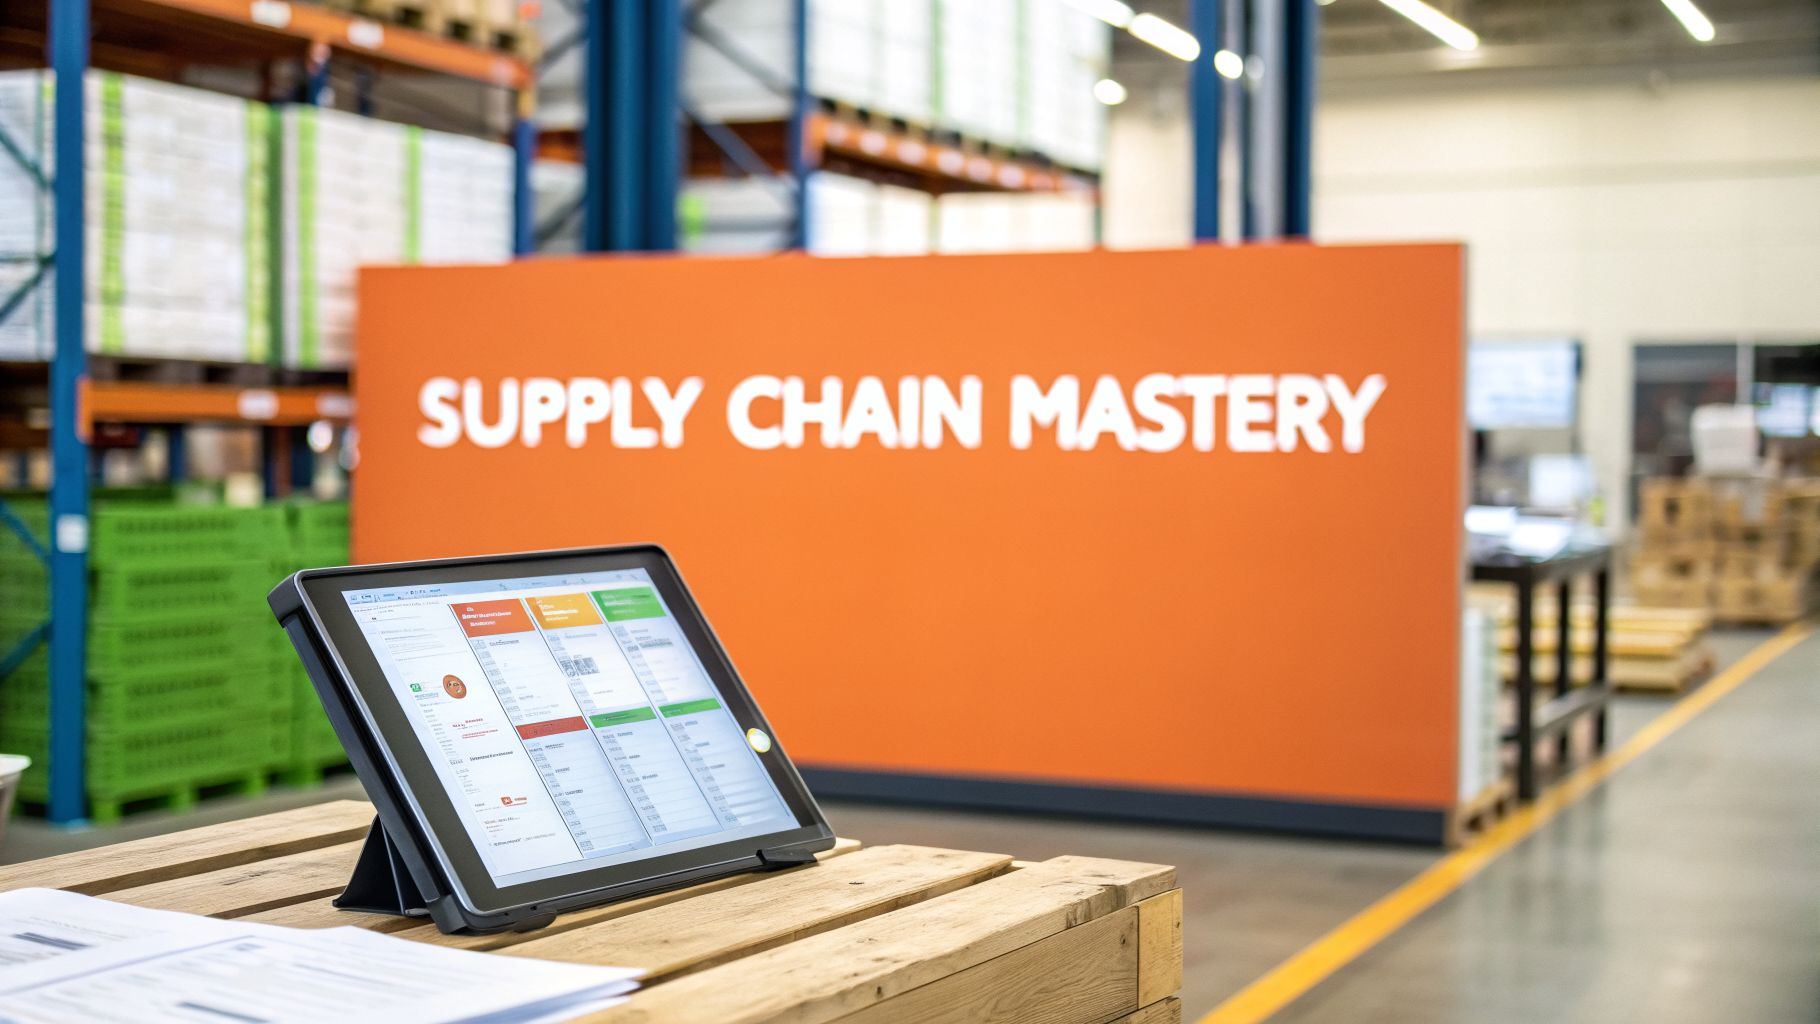
10 Best Practice Supply Chain Management Strategies for Founders in 2026
I'll be direct. Building a brand is tough, especially here in Chicago where your hustle is just the price of entry. I've watched so many founders with incredible products get crushed, not by rivals, but by their own supply chains. It's the silent killer of growing businesses: your cash gets trapped in inventory that won't…
Written by
-
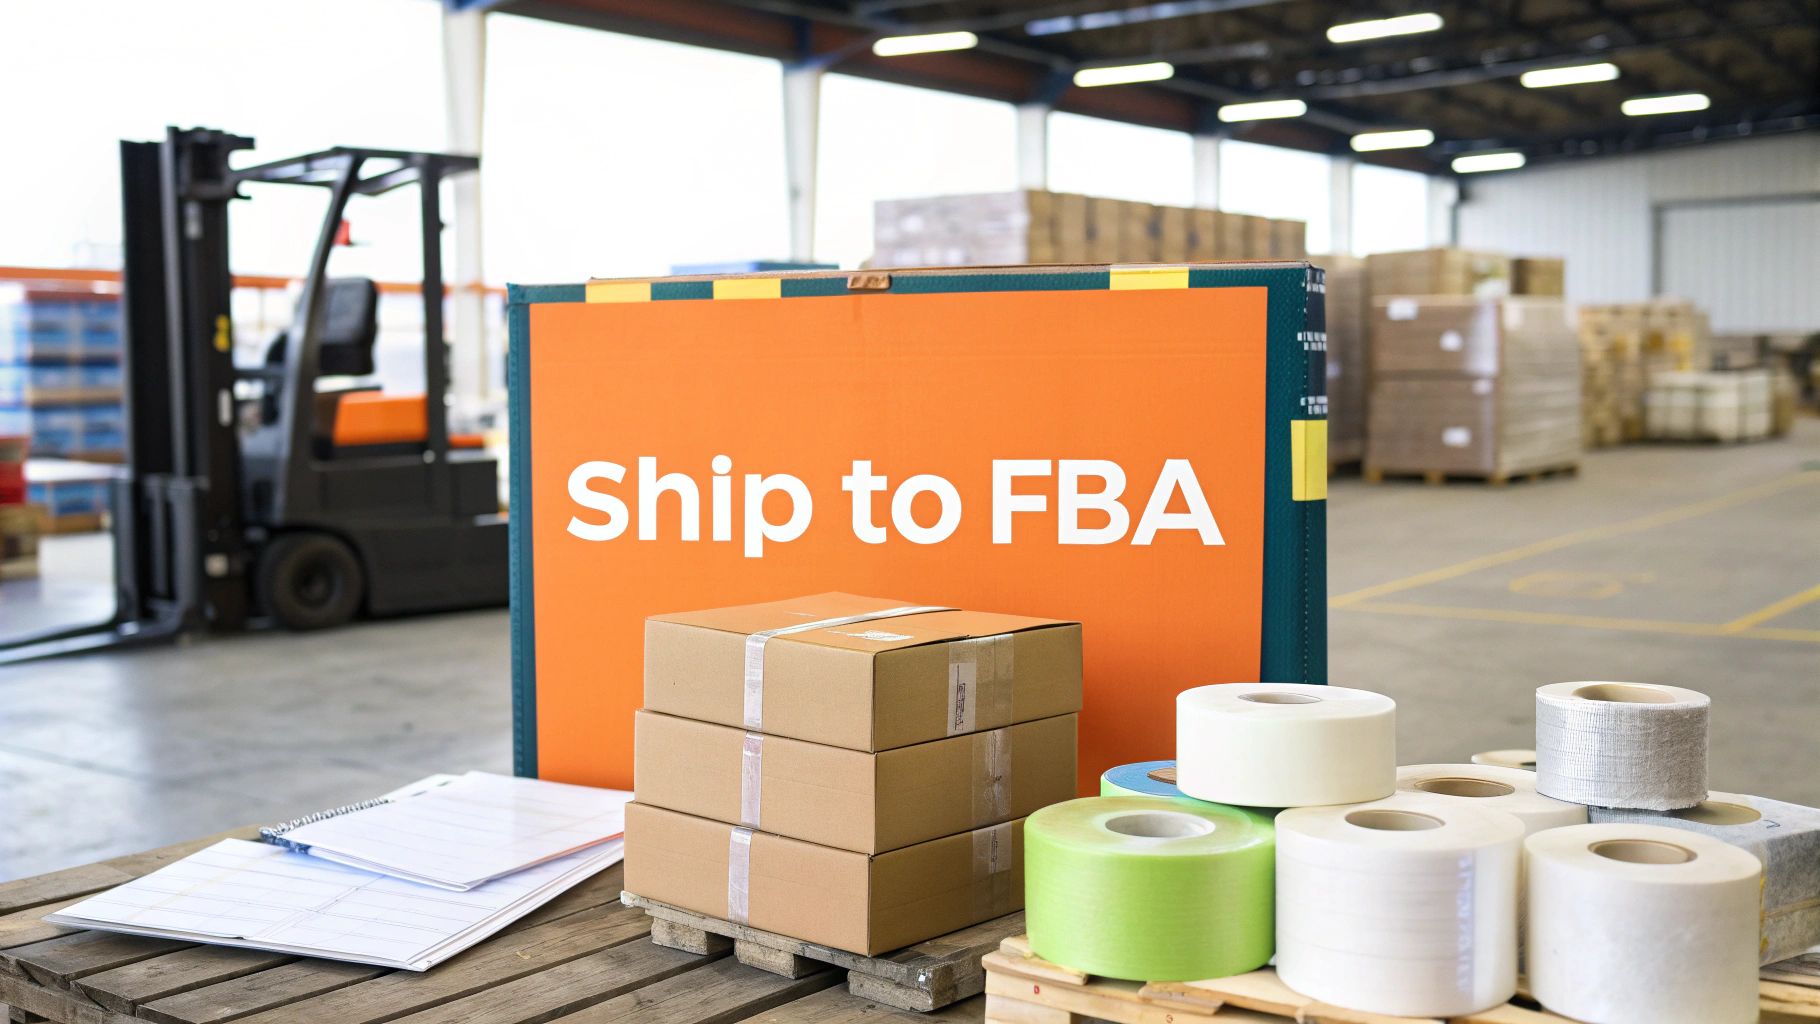
Your Founder’s Guide to Shipping to Amazon FBA Without Mistakes
Let’s be honest—shipping to Amazon FBA for the first time feels like a monster task. I've been there, staring at a pile of boxes in my Chicago apartment, totally overwhelmed. This guide isn't another dry, corporate manual. It's my collection of hard-won lessons from navigating this exact process, mistakes and all. My goal is to…
Written by